THE TRAINING NOTEBOOK / JO MAIR
Good riding.
Built from the basics.
Five things to keep coming back to — for a more balanced rider, a clearer conversation and a comfortable horse.
A practical introduction to general English riding foundations. Read alongside lessons: Jo can adapt the detail to you, your horse and the work you are doing.
Explore the five foundations ↓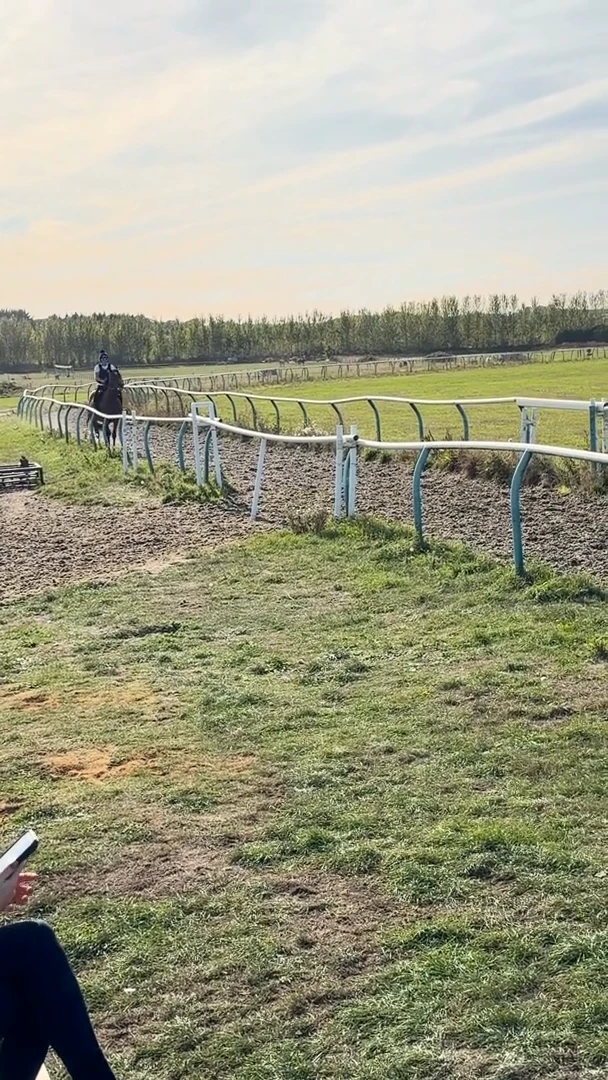
START BEFORE THE SADDLE
Safety first.
Comfort always.
Choose a horse and environment suited to your experience, with an instructor’s help. Wear a correctly fitted, securely fastened riding hat and proper riding footwear with a small heel. Check current hat requirements with the riding centre or event; have a new hat professionally fitted.
Before mounting, ask an experienced person to check the girth, stirrups, bridle and condition of straps and stitching. Tack must fit the horse as well as be secure. A routine check is not a substitute for a qualified saddle fitter.
Jo’s reminder to the rider: “If you’re in pain, stop.” Tell your instructor rather than trying to push through it.
Listen to the horse
Repeated tail swishing, head tossing, reluctance during tacking up or an unexpected change in behaviour can indicate discomfort. No single sign proves pain, but do not dismiss a pattern as “naughtiness”. Pause, tell your instructor and seek veterinary advice if pain or lameness is suspected.
Read: BHS equipment & tack guidance; World Horse Welfare [1–4]
SUPPORT YOURSELF, FOLLOW THE HORSE
Balance is a feeling.
Not a rigid pose.
In a basic seated position on the flat, an approximate ear–shoulder–hip–ankle line is a useful starting point. Sit centrally, look ahead and allow your hip, knee and ankle joints to absorb movement. Avoid pinching with your knees, forcing your heels down or using the reins to hold yourself up.
FROM ADAM’S OUTDOOR LESSON
“Don’t tip forwards. Sit up.”
A cue for the seated exercise in this clip, not an instruction to stay upright when a light seat is needed.
Original lesson sound · 1.6 seconds
The aim is an independent seat: your body follows the horse while your hands and legs can give separate, deliberate signals. Your instructor should adjust stirrup length and position to your proportions and the task. A jumping or light seat has a different shape from seated flatwork.
Build it in small pieces
In walk, with your instructor supervising, notice whether you can breathe normally, soften your shoulders and keep your weight even. Ask for feedback from the side. If balance becomes difficult, simplify the task rather than bracing harder. Off-horse strength, mobility and stamina also help you maintain a useful position as you tire.
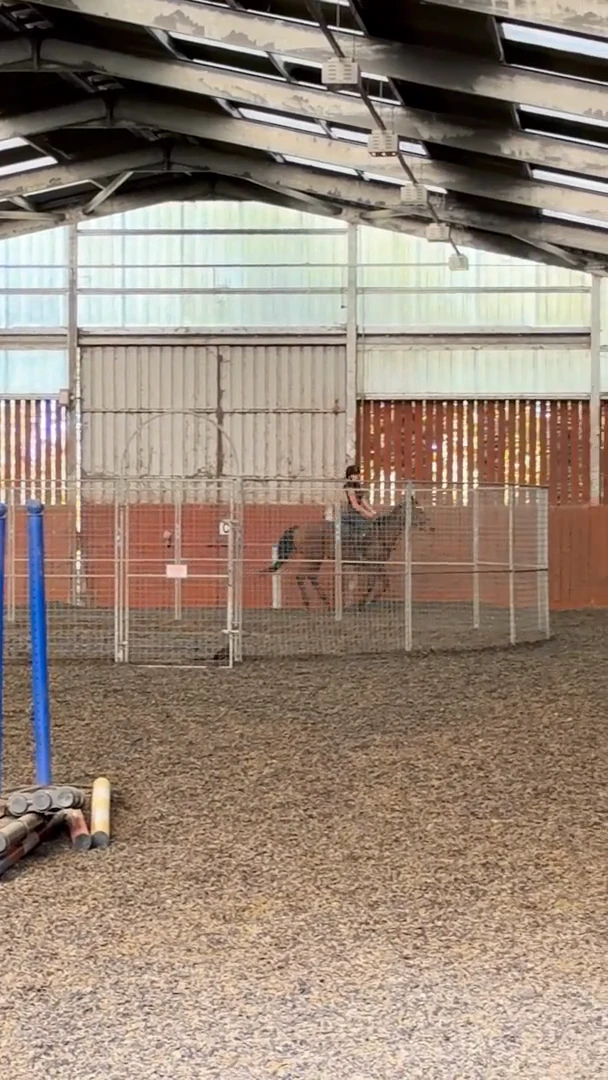
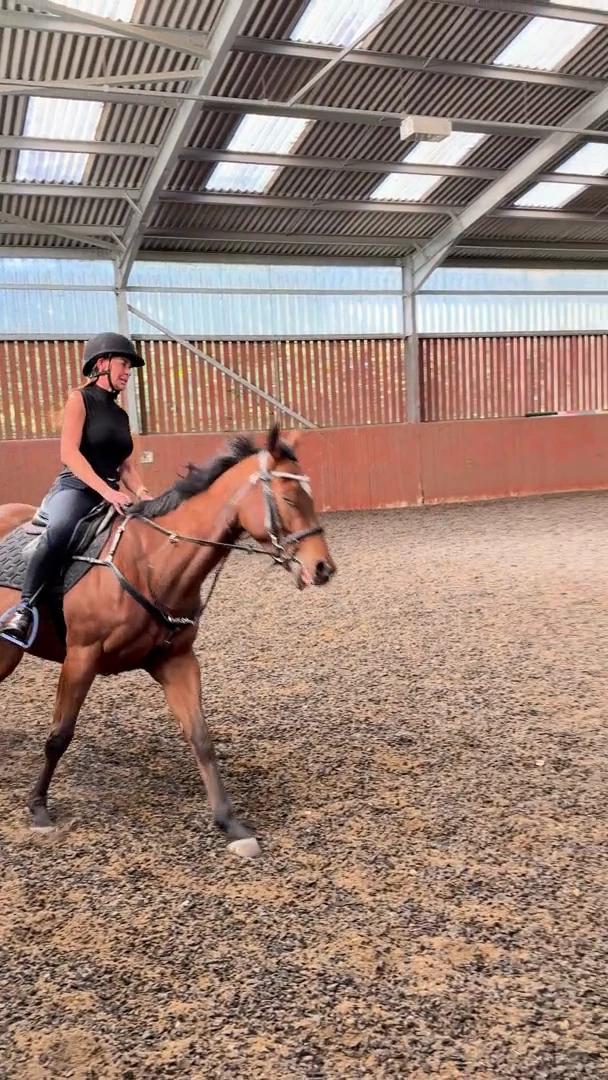
LISTEN TO THE FOOTFALLS
Find the rhythm.
Keep the quality.
Rhythm is a regular pattern of footfalls; tempo is how quickly the beats repeat. Ground speed also changes with stride length.
In a normal walk, you hear four beats. Trot has two beats as diagonal pairs move together, with suspension between them. A normal canter has three beats and a suspension phase; the leading foreleg lands last. Gallop is a different, normally four-beat gait.
FROM ADAM’S OUTDOOR LESSON
“Keep it really quiet and just find your balance again a little bit with that.”
Jo brings the focus back to a quiet, balanced canter in this particular exercise.
Original lesson sound · 3.55 seconds
A “working schooling canter”
That is Jo’s phrase in the outdoor lesson: an ordinary schooling canter while Adam finds his balance, before moving into a light seat. It describes this exercise, not a request for speed or a formal collected canter.
What to notice
With Jo’s help, listen for an unhurried, regular pattern on a straight line and through a suitably large turn. If the horse rushes or loses balance, return to easier work. A new or persistent irregularity needs assessment rather than being ridden through.
A CONVERSATION, NOT A CONTEST
Ask clearly.
Notice the answer.
Seat, legs, hands and voice can all form part of a horse’s learned cues. Use the signals your horse understands, with your instructor’s guidance. Begin lightly and keep messages distinct; contradictory requests make learning harder.
When using pressure and release, soften the asking aid as soon as the correct response begins. Accurate timing helps the horse connect the response with its consequence. Constant squeezing or pulling makes signals less clear; increasing force is not the answer to confusion or discomfort.
“Use your voice. Talk to him.” Jo’s words in the outdoor lesson. Use familiar voice cues as your instructor directs, alongside the aids the horse understands.
Contact should follow
In ordinary English flatwork, aim for a light, even, elastic rein connection with soft elbows that follow the movement. Contact is not a fixed hand or a prescribed head position. Do not pull the head into an outline. Softening an aid does not mean suddenly dropping a safe connection.
SMALL STEPS, WITH A PURPOSE
Ride the line.
Build the next step.
Choose one achievable aim with your instructor: perhaps a balanced turn in walk or a clear walk–halt transition. Break a new task into manageable steps, reward progress and keep repetition limited. Change one difficulty at a time.
Look along the route you intend to ride, keep yourself centred and use your instructor’s guidance to organise the whole horse through the turn. Steering is not simply pulling one rein. Work on generous curves appropriate to the horse’s balance, fitness and stage of training.
“Just trust the process, but take your time.” Jo’s encouragement during the light-seat work: focus on your task without rushing the next step.
Progress is individual
Agree a suitable warm-up, workload, breaks and cool-down with Jo. Finish or simplify before fatigue or worry undermines the work. After a lesson, record what improved, what felt difficult and one question for next time.
There is no fixed timetable from beginner to canter, jumping or the gallops. Progress depends on horse and rider readiness, supervision and the environment — your next step should be agreed with your instructor.
READ A LITTLE FURTHER
Carefully grounded.
Always horse first.
General educational guidance checked against the sources below on 17 October 2026. Short spoken cues are transcribed from Adam’s outdoor lesson footage; the “sack of shit” reminder is recalled by Adam in his post-gallops video. These organisations have not endorsed this page. Illustrations explain concepts; they do not assess a rider, diagnose a horse or replace an in-person lesson.
- BHS · Riding hats and helmets ↗
- BHS · Footwear and boots ↗
- BHS · Making sure your tack fits ↗
- World Horse Welfare · Tacking up and ridden behaviours ↗
- United States Pony Clubs · Developing rider position ↗
- BHS · Rider fitness ↗
- British Dressage · Scales of training ↗
- International Society for Equitation Science · Training principles ↗
PUT THE THEORY INTO PRACTICE